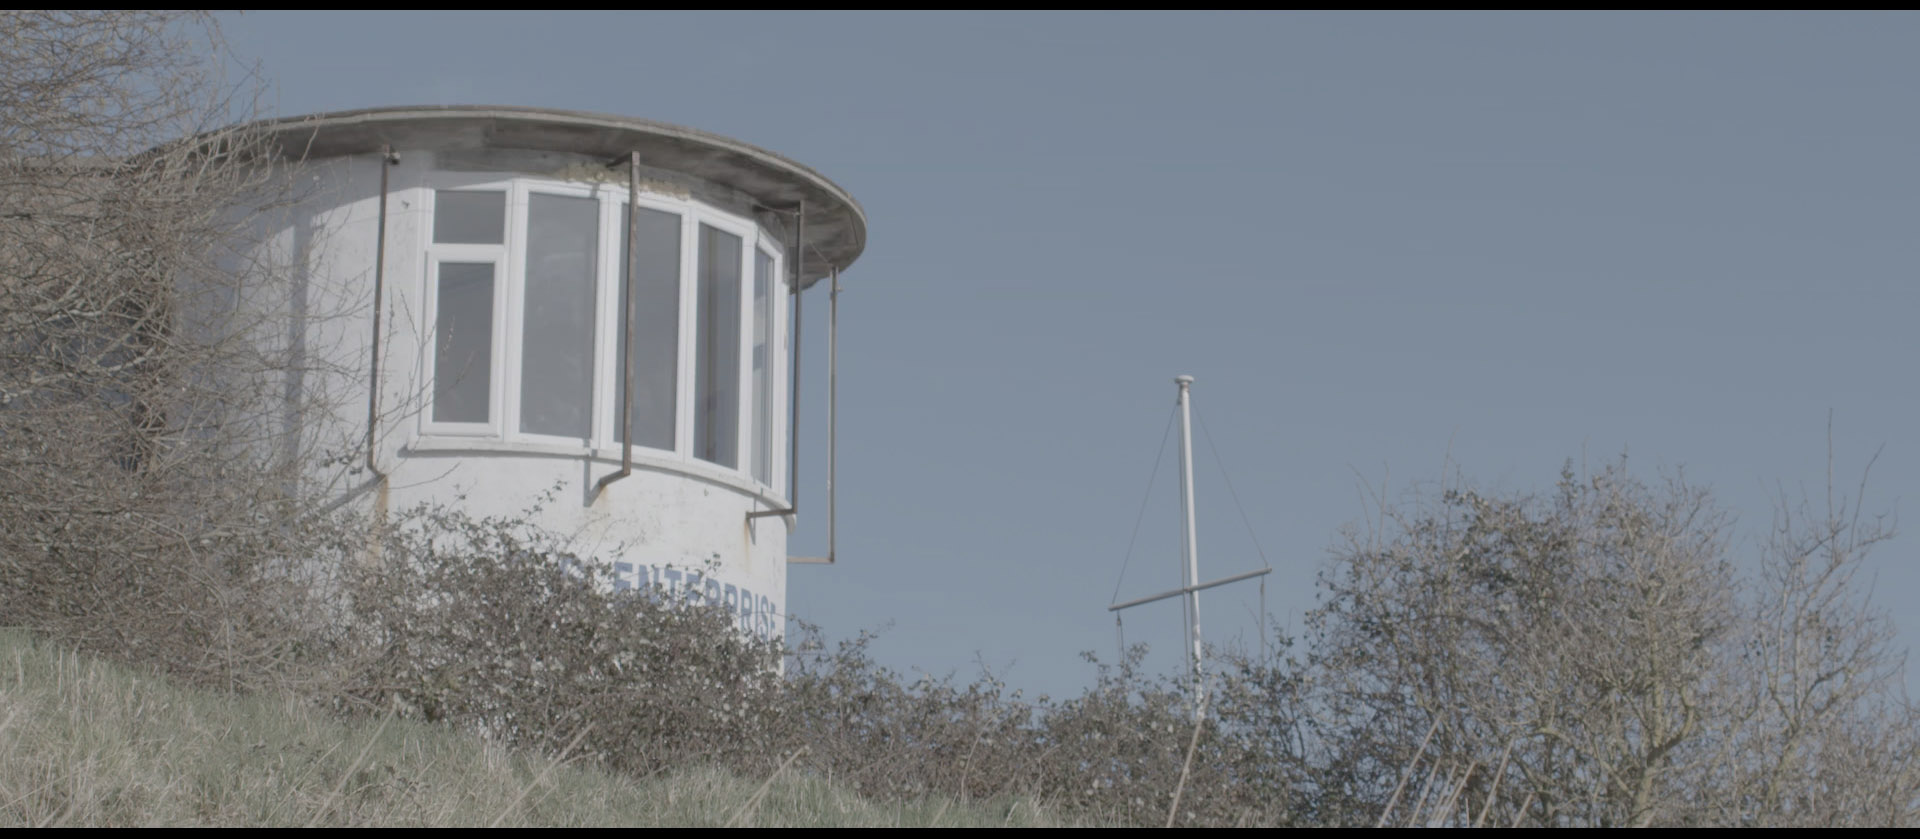
No LUT
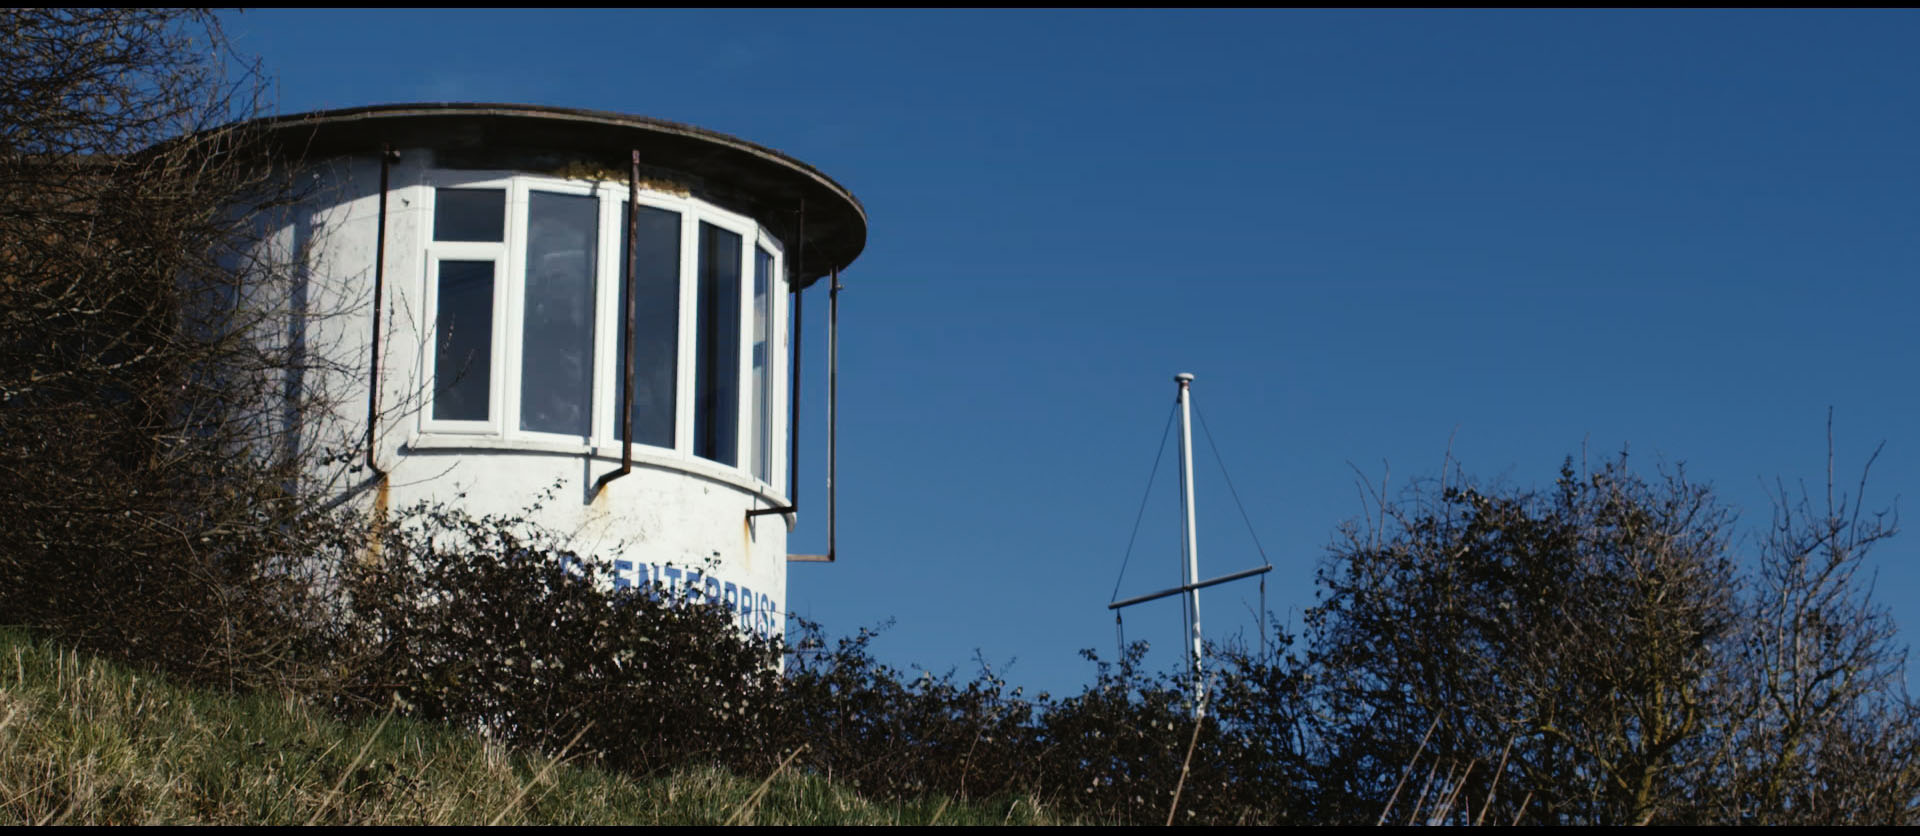
LUT applied.
I thought I would add this info in a place where I can pass it to clients.
Mainly I shoot my Sony FS7 camera using the ‘Slog’ look. This appears very flat and grey when passed into an NLE. The advantage of this flat look is that the highlights and the shadows are retained leading to rich images after a simple step in post.
Proper colour can be brought back by the addition of a LUT (look up table ..or colour and contrast transform) to the footage.
Premier
Download the LUTs from here
Copy them to a sensible folder on your edit machine.
In Premiere, go to Effects TAB. Select Video Effects / Colour Correction and drag and drop ‘LUMETRI’ onto a shot on the timeline. It will then prompt you for a LUT. Navigate the dialog box to where you copied the LUTs choose your LUT (I use LC 709 TypeA as a start point).
You can copy and paste this effect across the rest of the timeline and if your exposures and WB are correct you’re pretty much done.
If you need to adjust exposure or WB add a filter ABOVE Lumetri in the effects tab. Do not do any colour correction apart from exposure and WB on this filter, add new filters BELOW Lumetri to do any further grading.
Davinci Resolve
To non destructively add the LUT to the whole timeline:
Settings > Look Up Tables > 3d Output Lookup Table > Slog3.Sgamut3.cineToLC709TypeA
or for more ‘punch’
Settings > Look Up Tables > 3d Output Lookup Table > Slog3.Sgamut3.cineTo709
The Power of 10bit footage.
This video shows some of the ‘colour flex’ in the Log file that has 4X more colour than the ‘delivery space’..
Sony FS7 Slog3 Davinci Resolve Grades from Sam Morgan Moore on Vimeo.
This is the most helpful thing on the entire internet regarding getting LUTS onto CS6 if you DON’T have the cloud version/Lumetri. Thank you so much!
That was incorrect–I meant getting it into DaVinci Resolve. It’s very aggravating that there’s no way to get the LUTS into a cloudless CS6.